This tutorial will show you how you can create image watermarks using Chasys Photo. You'll also be shown how to use the new features in TextArt to create professional text-based watermarks for your images. This tutorial isn’t intended to be exhaustive, however – there are very many methods of creating watermarks; this tutorial covers just a few.
This is an old tutorial that was done before some advanced tools were added to Chasys Photo. As a result, the approach taken here might not be the easiest or most ideal way of doing things with a modern version of Chasys Photo.
Using Predefined Watermarks
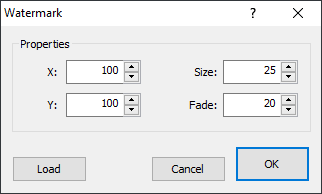
Chasys Photo allows you to use predefined watermarks; these can either be applied to single images in Chasys Photo Editor or to multiple images at once using Chasys Photo Converter. For, Artist, the watermark option is available on the Effects menu under Render. For Converter, this option is available in the “Select Effects and Transforms” screen. Both work in the same way – you select a watermark file then select the placement, size and fade options.
The X value specifies the horizontal position, where 0 is far left, 100 is far right and 50 is center. The Y value specifies the vertical position, where 0 is top, 100 is bottom and 50 is center. The size option sets the size of the watermark as a percentage of the image size. The fade option determines how much the watermark is faded.
To create a new predefined watermark, create a new image with a transparent background and save it under the Watermarks folder. You can use the “Alpha Mode” option of the Emboss effect to convert images into a form that can be used as embossed predefined textures.
Glassy Text using TextArt
If you are working on a composite (layered) image, you can add a watermark by utilizing the new emboss fill-style in TextArt. One of the main advantages of this method is that the result is fully re-editable – you can click it at any time and change the text without having to redo any of the steps.
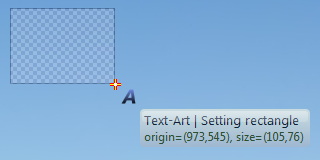
First, select the TextArt tool from the toolbox and use it to insert a text-layer. You'll need to left-click, move the mouse, then right click to do this.
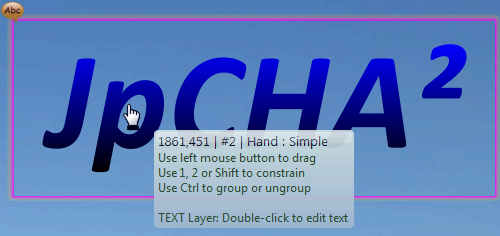
Chasys Photo will create a new text layer with default settings, such as the one shown below:.
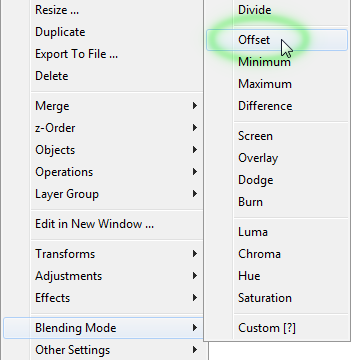
Right-click the text layer. A popup menu will appear; on this menu, select Blending Mode then Offset. This will set the blending mode of the text layer to “offset” mode. You can also use the “overlay” mode for this; it will also work but will render differently.
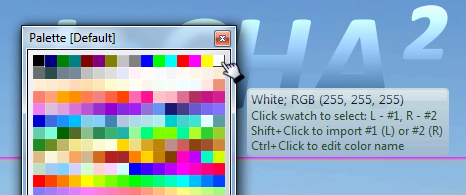
Next, we need to change the color of the text. Double-click the text layer to open the TextArt editor. While the TextArt editor is open, use the palette to select white and black: left-click the white swatch on the palette to set color#1 to white (see image below), then right-click the black swatch to set color #2 to black. The color of the text should change into a light gradient that allows the background to show through.
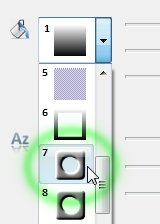
On the TextArt dialog, which should still be open, locate the fill-style combo-box. It has a filling bucket icon next to it (see image below). Change the fill-style from the default value (usually “1”) to the emboss mode (mode seven, “7”). This will change the gradient on the text to an embossed effect.
Your watermark is now almost done, and you can now make minor adjustments to suit your taste. You'll probably want to adjust the fill-style parameters, that is, the three sliders next to the fill-style combo box. The first slider sets the emboss intensity, the second one sets the roundness/smoothness of the emboss effect, and the last one sets the lighting angle (the direction the light seems to come from).
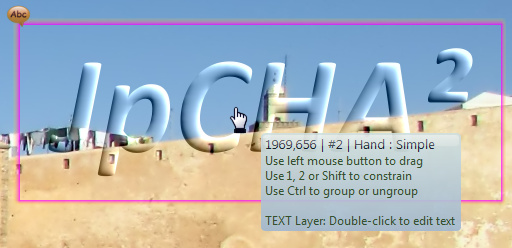
Here’s the final watermark. See how it interacts with the background? This watermark is fully re-editable, you can double-click on it at any time, even after saving it and restarting Chasys Photo, and change the text properties such as font, size, rotation, fill-style parameters, etc.
Glassy Images to Match
You can also create “glassy” watermarks such as the one described in the previous section using images instead of text. This part of the tutorial shows you how. Suppose you have an image like the logo below, prepared and ready, and you'd like to use that as a watermark:
Start by loading the image you'd like watermark, then add the image you'd like to use as a watermark (we'll call it a logo) into the workspace as a new layer by, for example, drag-dropping it onto the workspace or using the Import Image from File command. You should now have two layers, the image you intend to watermark and the logo layer:
Right-click the logo layer. A popup menu will appear; on this menu, select Blending Mode then Offset. This will set the blending mode of the logo layer to “offset” mode. You can also use the “overlay” mode for this; it will also work but will render differently.
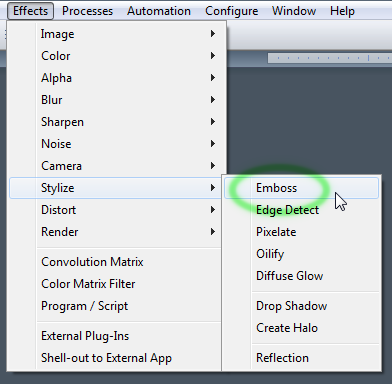
From the main menu at the top of the window, select Effects then Stylize then Emboss, as shown below:
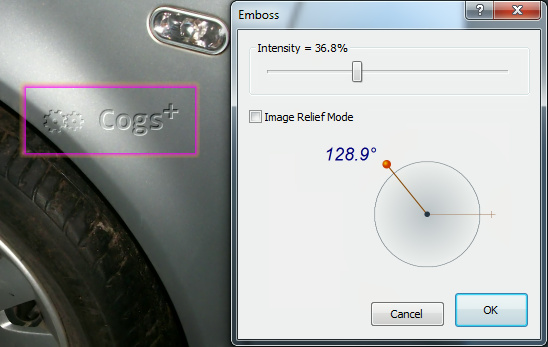
A dialog-box with emboss options will appear. As you can see, the watermark is taking shape; all you need to do now is to adjust it to your liking. You can set the intensity level to adjust how bold or subtle the watermark is. You can also adjust the angle the light seems to come from. Do not select the “relief” mode; doing so will mess up the watermark.
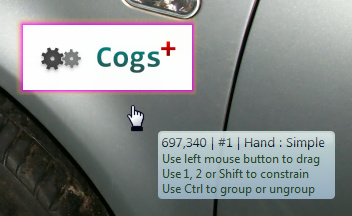
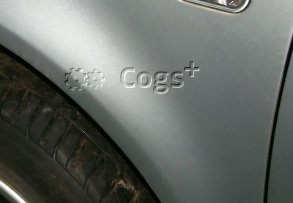
Here’s the final watermark. Position it as required and save the image.