This tutorial teaches the user how to make GIF animations from videos; these are commonly used on discussion forums on the internet as “avatars” or “profile photos”. The user will be guided through the process of importing a video, editing it, changing the frame rate and saving it as .gif file ready for use on the internet.
This is an old tutorial that was done before some advanced tools were added to Chasys Photo. As a result, the approach taken here might not be the easiest or most ideal way of doing things with a modern version of Chasys Photo.
Step 1: Loading the video
Go to the “File” menu on Chasys Photo Editor and select “Open” like you would when opening a picture. Navigate to the location of the video file you want to load and select the file. If a preview is shown, that means the file format is supported; select “Open” to load it.
Chasys Photo loads videos using the system codecs installed in your system just like most video players. If a video isn’t loading on Chasys Photo, check if you have the correct codecs installed.
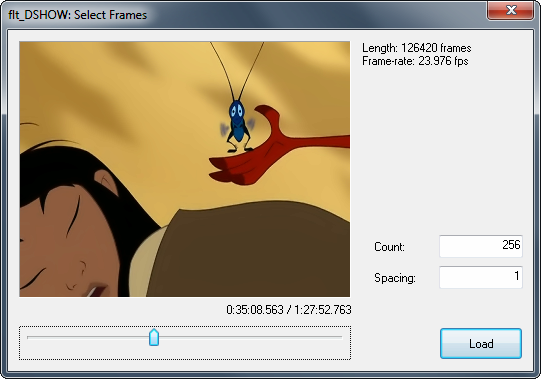
Chasys Photo will display a window where you can seek the video (i.e. “forward”) to the point of interest. Remember that Chasys Photo can only load up to a few seconds of video, so get as close as possible:
Chasys Photo will load the frames and show you a preview of the video in the preview window:
Step 2: Preparing the video
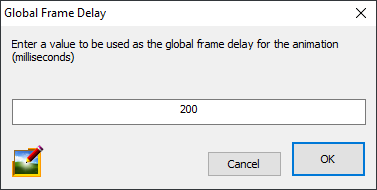
Once the video is loaded, you can edit it be removing the frames you don’t need. Simply select the frame with the Hand Tool and press Delete to remove it. Movies generally have higher frame-rates than what most people prefer in GIF animations; i.e. they generally update faster. A lower frame rate will make your file smaller but might make the movement appear jerky. If you wish to adjust the frame-rate without affecting the play-back speed of the video, just select “Frame-rate Conversion” from the “Animation” menu then select a new frame delay:
The frame delay is 1000 divided by the frame-rate, i.e. for 10 frames per second, the delay is 1000 ÷ 10 = 100 milliseconds.
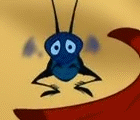
Step 3: Cropping the video
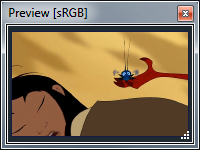
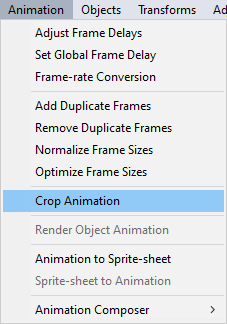
When doing GIF animations for avatars, you're generally interested in just a small region in the video, like the bug in the frame below. To cut out this region, you need to crop the video, just like you'd crop an image. To do that, go to the “Animation” menu then
select “Crop Animation”:
The result looks like this:
Step 4: Save as GIF
Now that you have your animation sequence, it’s time to save it as a GIF. Go to the “File” menu and select “Save As” then change the format to .gif. Choose a location and file name then click “Save”.
DO NOT select “Save”. If you do, Chasys Photo will attempt to overwrite your video, and it might succeed. “Might” because Chasys Photo tries to detect such situations, but the detection is not always perfect.