Screen Capture
Introduction
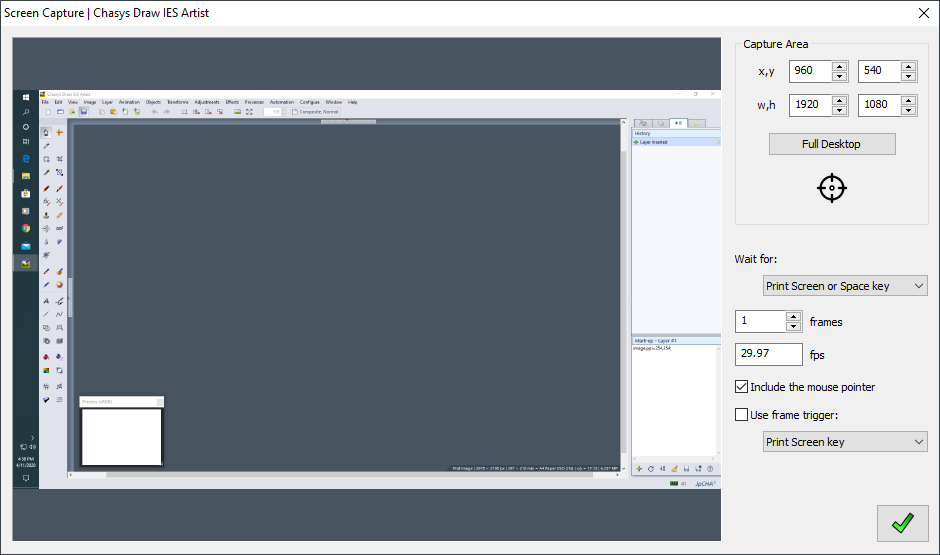
Chasys Photo Editor can capture the screen or any portion of it as either a still image (screen-shot) or a video (screen-cast). To do this, use the Screen Capture option under the File > Devices and More menu. The application will show a dialog box where you can select various options such as frame rate and number of frames to capture:
Capture Setup
The capture area origin and size parameters dictate the part of the screen that will be captured.
Capture Origin (x,y) is taken as the center of the capture rectangle, which is of dimensions Capture Size (w,h).
You can set the origin using the mouse; you do this by dragging the target icon ![]() to the center of the object of interest.
You have the option of including the mouse pointer in the captured image; doing so is useful for making tutorials.
to the center of the object of interest.
You have the option of including the mouse pointer in the captured image; doing so is useful for making tutorials.
The Number of Frames parameter sets the number of video frames captured and the Frames per Second parameter sets the frame rate. The wait for drop-down sets the event upon which the capture will be started; this can be a button press or a timer (e.g. start capture on pressing Print Screen or after 10 seconds). If the use triggering option is selected, Chasys Photo will capture one frame every time the selected trigger button is pressed.
Performance
Capture performance for video tends to be better for multi-core processors; on single core processors frame timing may be inaccurate.