

Part 2: Face-lift and Bluetooth (2018)
by John Paul Chacha on Wed, 5th Sep 2018. Read 9072 times.
It's been about seven years since I designed and built the UpX4 Multimedia Utility Amplifier, so I decided to update it with a facelift and Bluetooth support. When coupled with some decently sized speakers, this will probably be the world's most powerful Bluetooth speaker!
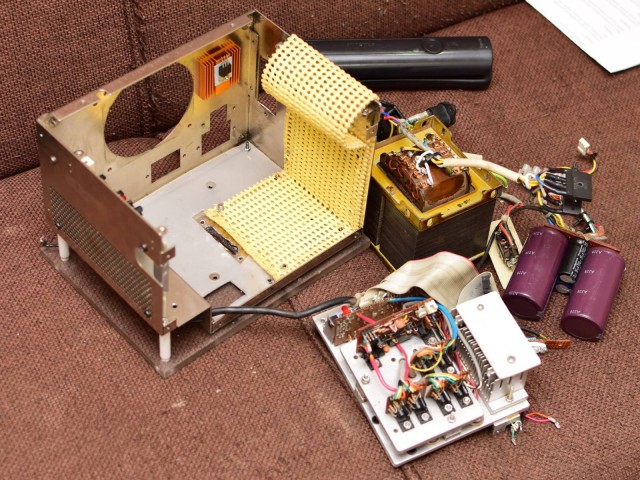
First things first – we need to dismantle the whole thing. I pulled the whole amp apart so that I could put in a 5 volt supply for the Bluetooth module. By the way, in case you’re wondering why the transformer needs a lining, that thing weighs 7 kilograms, and the casing is made of steel. Suffice to say that reducing 50 Hz hum was a strong motivator.
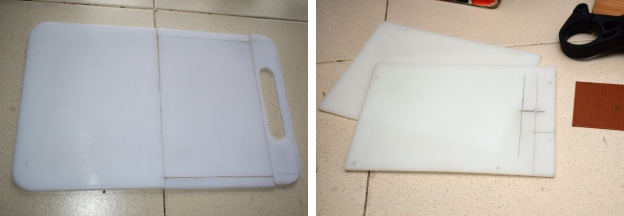
I needed some hard plastic for the new plastic panels; a cheap chopping board came in handy for that. I marked them up, cut out the panels I needed, marked some more then drilled out the holes.
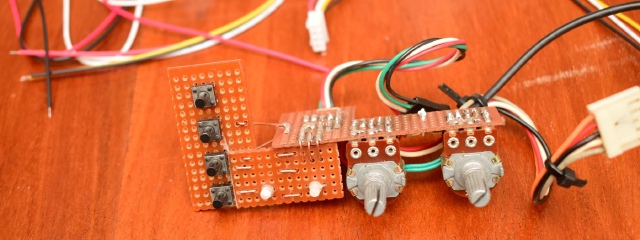
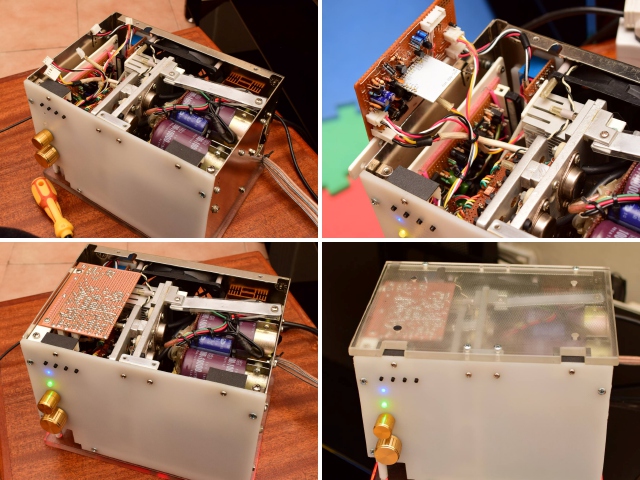
A new face needs new face circuitry. I started out with the volume knobs then added the amplifier status LED. For this facelift, I replaced the three LEDs for power (green), fan (orange) and overheat (red) with one multicoloured LED. Initially, I used a red-green 3mm LED, but I replaced it with a 5mm RGB LED later on.
Next, I added some more mounted boards to the face for the four multimedia buttons and the blue multimedia LED (3mm). The four buttons will be used for power on/off, play, previous or volume down, and next or volume up. The LED circuitry was designed with opto-isolators to decouple the amp circuitry.
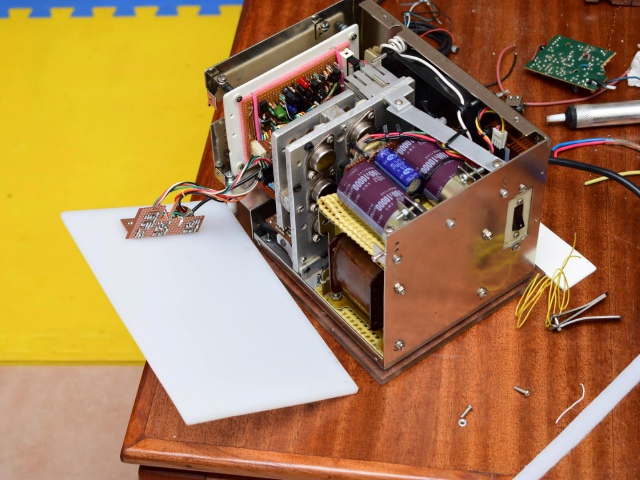
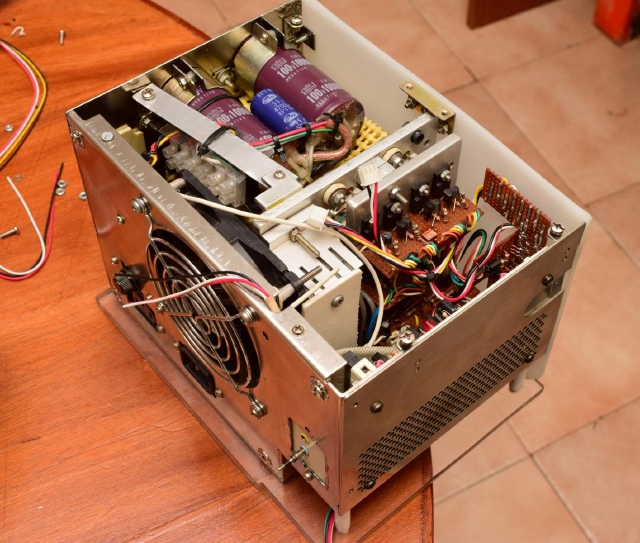
Mounted, it looks like this. You're probably wondering why those filter capacitors are rated at 10000µF by 100 volts. Well, the amp runs at 110 vdc and each channel can sink as much as 12 amps, so we need a beefy power supply.
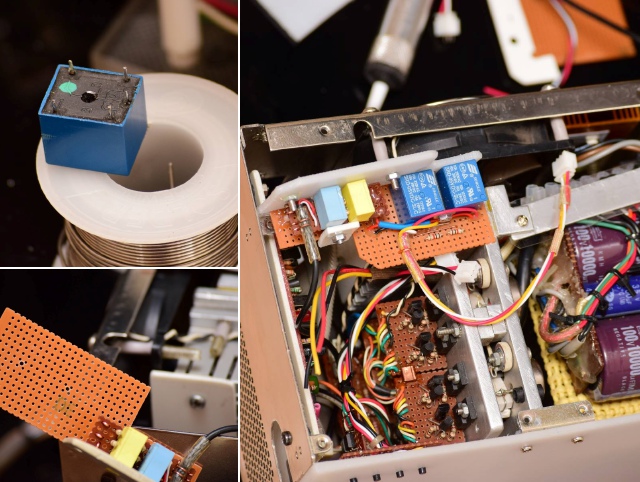
Next, the input module. Any unnecessary addition to the audio path is a potential source of additional noise and distortion, and that's where the 5-volt relays come it. Bluetooth modules can be noisy, so the amp will connect the bluetooth input if and only if the module is paired and receiving a signal. I elected to use two separate signal relays, one for each channel.
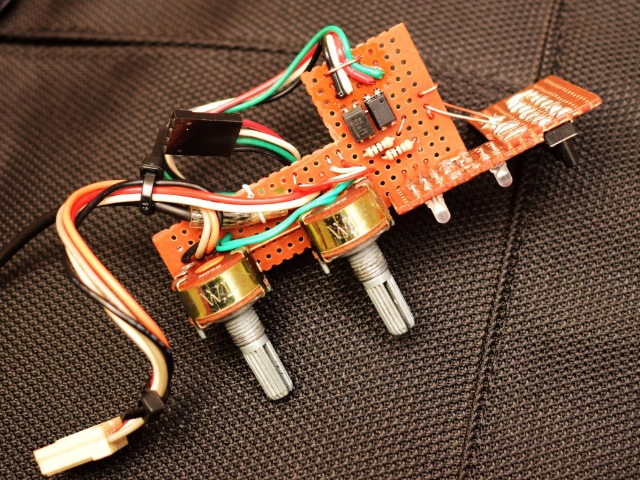
Next, the multimedia extension (MMX) for bluetooth. I elected to use the KRC-86B v 4.0 because it provided everything that I needed and nothing that I didn't, and it's based on a CSR 8630. I started the build with the soft on/off switch circuit based on a bistable multivibrator, then followed that with the power supply and protection circuitry. Next, I mounted the KRC-86B module then added the relay drive circuit, after which I added the LED blinker circuit (this was needed because the KRC does not give any indication of activity when it is initializing). Lastly, I added a 6-pin connected for the SPI bus; I figured that I'd need that to reprogram the KRC with a friendly bluetooth device name.
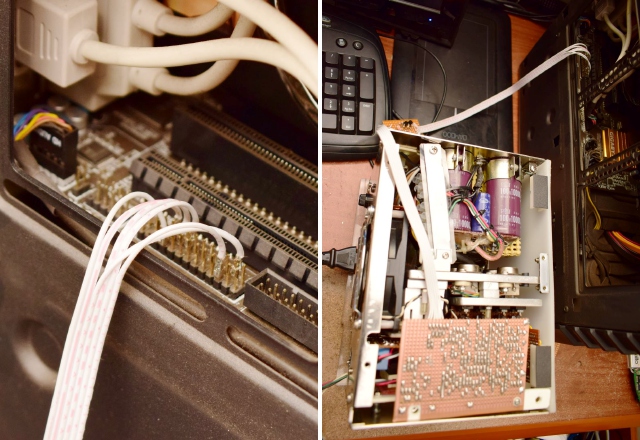
With that done, I added the necessary wiring to the UpX4 DreamPump and connected the Bluetooth MMX. After some tests, I mounted it and voila!
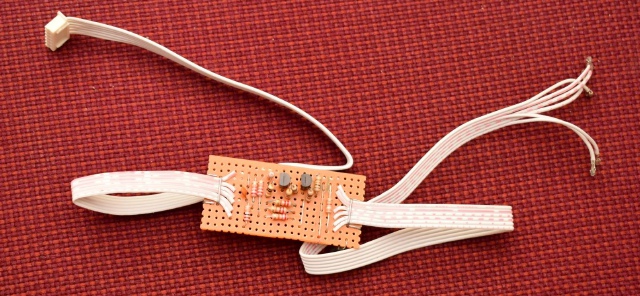
The bluetooth chip is programmable via an SPI interface, but computers don't have SPI ports. Solution? Simulate SPI by bit-banging a parallel (LPT) port, then use a simple circuit to adapt the signal levels.
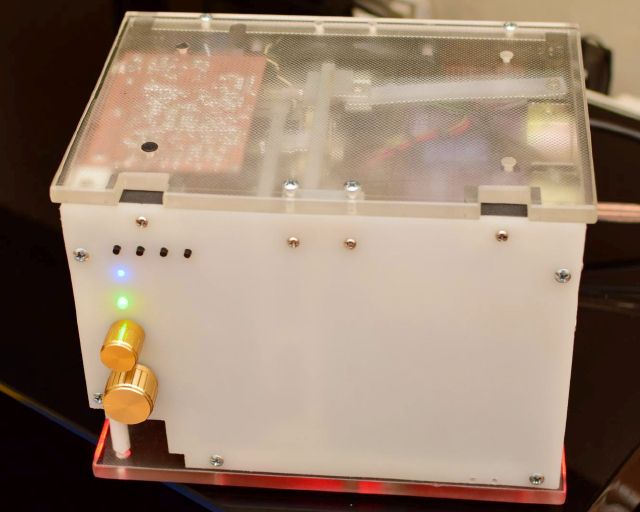
Here's the final product:
It's been about seven years since I designed and built the UpX4 Multimedia Utility Amplifier, so I decided to update it with a facelift and Bluetooth support. When coupled with some decently sized speakers, this will probably be the world's most powerful Bluetooth speaker!
Facelift and Adding Bluetooth
First things first – we need to dismantle the whole thing. I pulled the whole amp apart so that I could put in a 5 volt supply for the Bluetooth module. By the way, in case you’re wondering why the transformer needs a lining, that thing weighs 7 kilograms, and the casing is made of steel. Suffice to say that reducing 50 Hz hum was a strong motivator.
I needed some hard plastic for the new plastic panels; a cheap chopping board came in handy for that. I marked them up, cut out the panels I needed, marked some more then drilled out the holes.
A new face needs new face circuitry. I started out with the volume knobs then added the amplifier status LED. For this facelift, I replaced the three LEDs for power (green), fan (orange) and overheat (red) with one multicoloured LED. Initially, I used a red-green 3mm LED, but I replaced it with a 5mm RGB LED later on.
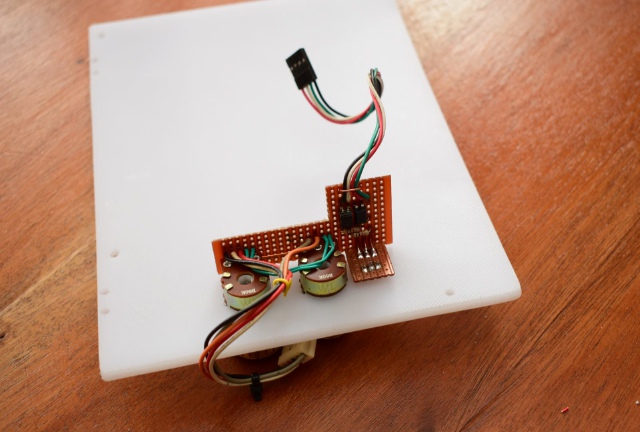
Next, I added some more mounted boards to the face for the four multimedia buttons and the blue multimedia LED (3mm). The four buttons will be used for power on/off, play, previous or volume down, and next or volume up. The LED circuitry was designed with opto-isolators to decouple the amp circuitry.
Mounted, it looks like this. You're probably wondering why those filter capacitors are rated at 10000µF by 100 volts. Well, the amp runs at 110 vdc and each channel can sink as much as 12 amps, so we need a beefy power supply.
Next, the input module. Any unnecessary addition to the audio path is a potential source of additional noise and distortion, and that's where the 5-volt relays come it. Bluetooth modules can be noisy, so the amp will connect the bluetooth input if and only if the module is paired and receiving a signal. I elected to use two separate signal relays, one for each channel.
Next, the multimedia extension (MMX) for bluetooth. I elected to use the KRC-86B v 4.0 because it provided everything that I needed and nothing that I didn't, and it's based on a CSR 8630. I started the build with the soft on/off switch circuit based on a bistable multivibrator, then followed that with the power supply and protection circuitry. Next, I mounted the KRC-86B module then added the relay drive circuit, after which I added the LED blinker circuit (this was needed because the KRC does not give any indication of activity when it is initializing). Lastly, I added a 6-pin connected for the SPI bus; I figured that I'd need that to reprogram the KRC with a friendly bluetooth device name.

With that done, I added the necessary wiring to the UpX4 DreamPump and connected the Bluetooth MMX. After some tests, I mounted it and voila!
Programming the Bluetooth Module
The bluetooth chip is programmable via an SPI interface, but computers don't have SPI ports. Solution? Simulate SPI by bit-banging a parallel (LPT) port, then use a simple circuit to adapt the signal levels.
Bit-banging refers to a technique in which serial communications is achieved by utilizing software instead of dedicated hardware to process and make use of signals. The software directly sets and samples the state of pins on a microcontroller, and is responsible for all parameters of the signal: timing, levels, synchronization, etc. On a PC, bit-banging is usually implemented by using software to manipulate and monitor the states of the pins on a parallel port so as to implement the serial protocol of interest.
Here's the final product:

Quick Links
Popular Articles
Other Content
Donations
Did you like the article?
Kindly make a donation via PayPal to keep the projects going.
Kindly make a donation via PayPal to keep the projects going.